

Hello everyone, have you ever had trouble having an ISP with a dynamic IP public? Yes, I’m one of them back then but it’s not anymore since I activated Cloudflare Free DDNS.. hahaha. To use this, you are required to have a domain connected to Cloudflare (using the cloudflare nameserver) after it we can use the API from Cloudflare, to change our IP in Cloudflare so the IP will be the same as the linux server we use (we use DDClient, and this is the linux package). For this project, what I use is:
- Ubuntu Linux server 20.04 (other Linux can do it too, as long it can install DDClient)
- Indihome ISP (Other ISPs is able to use this too, as long it had Dynamic IP)
- Domains that are already connected in the Cloudflare account (name server point to cloudflare)
- The router is already Port Forwarded to server (I happen to use the F609 type)
Ok, let’s just start with that, first make sure you have opened the linux terminal on your computer. Furthermore, also make sure you are already a Super User in the terminal, if you don’t know you can type sudo su in the terminal and enter your respective passwords (if your using one). Well after that we will start the installation and i assume you guys use Ubuntu 20.04 as well (if you using other varian of linux, the command depend on the respective OS). Ok for the DDClient installation you can enter the command below:
apt install ddclient libdata-validate-ip-perl
Well, wait until the installation is complete, and when it’s finished we need to patch it with the latest version. Maybe someone asks why it should be patched? because the DDClient in the ubuntu repository is already deprecated version & also it does not support the DDNS API from Cloudflare so we patch it with the latest version. Ok, for the command, i will using wget (you can use other tools too, as long you get the files).
wget https://github.com/ddclient/ddclient/archive/v3.9.1.tar.gz
tar -xf v3.9.1.tar.gz
cp v3.9.1/ddclient /usr/sbin/ddclient
rm -rf v3.9.1.tar.gz ddclient-3.9.1/
mkdir /etc/ddclient
mv /etc/ddclient.conf /etc/ddclient/
Ok now you have finished patching, then you can edit the DDClient configuration file in the directory below (I use nano, you can use another text editor as well as you want)
nano -w /etc/ddclient/ddclient.conf
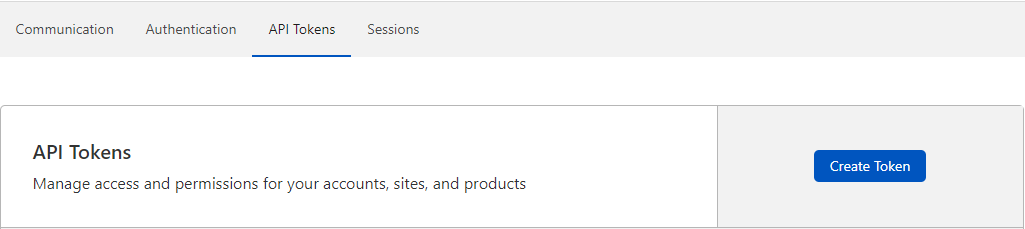
Now if you have opened it, you want to be able to use Cloudflare DDNS, you are required to have an API token from Cloudflare. To request the API Key, you can click this link: https://dash.cloudflare.com/profile/api-tokens . Now from there you can create tokens. An example of the picture is kek below gan.
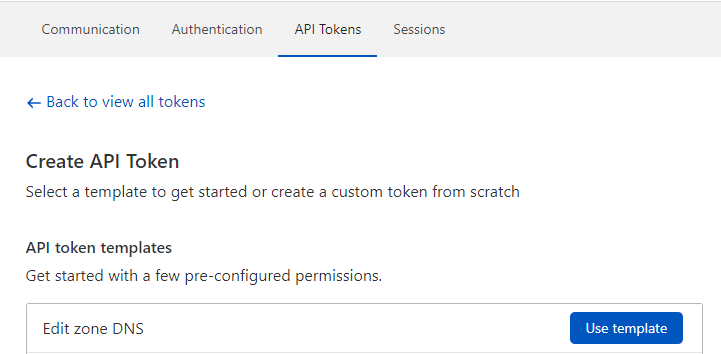
Now if you have clicked Create Token we will be faced again to what to create api for. Now because here we want to be able to change the IP to the domain using the API as a link, we need an API that can edit the dns zone in Cloudflare in real time. There is already provided the template directly from Cloudflare, we just select the Edit DNS zone and click on Use Template. An example of the picture is below.
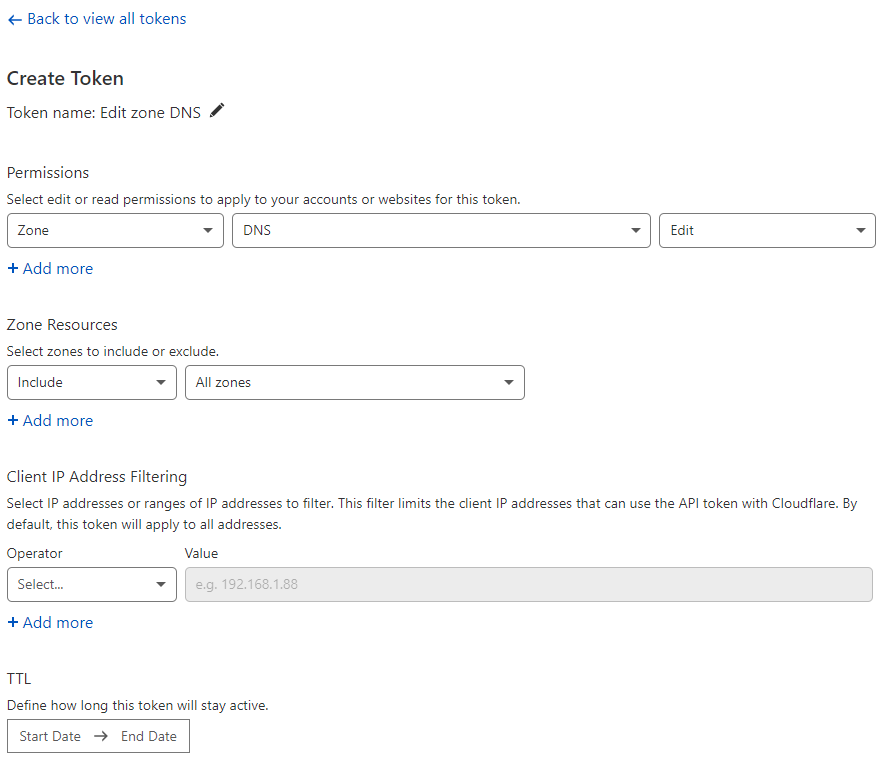
Well when it’s done we are faced again on another page. Here we just need to include which domains we want to use this API. If I use it for all my domains on Cloudflare, so I choose all zones (you can adjust it to what you want). for contah the picture is below.
After you finish creating, an API key will appear and then you save it to notepad or where it is (because it only appears 1 time this time, so you should keep the API Key good). After you simplify, this API key will be needed for the DDClient configuration so don’t lose it first. Ok we’re done with the API Key, next we go back to the terminal again and we open the DDClient configuration file. Here I use nano to open the file (you can use another tool jg). Open the DDclient configuration file directory in the following way.
nano -w /etc/ddclient/ddclient.conf
After you open it, there will be a default configuration of the DDClient. You can cheat on my configuration that I tested myself working stable (I’ve been using it for almost 4 months) and it’s still working now. For the configuration later, you just need to change the domain name with yours & also your API Key. For an example of the configuration, you can see below.
# Configuration file for ddclient generated by barugan
#
# /etc/ddclient.conf
# How offten to check ip address
daemon=360
# Using Cloudflare protocol
protocol=cloudflare
# Tell ddclient to get real ip address
use=web, web=checkip.dyndns.org
# Credentials for Cloudflare api
ssl=yes
server=api.cloudflare.com/client/v4
[email protected]
password=(fill in API Key Here)
zone=domainname.com
# Domain for namadomain.com update
, *.namadomain.com
So that’s the DDClient file settings. There you can see that there is a daemon = 360, so the max DDClient will refresh the IP every 360 seconds or 5 minutes. You can set the daemon time as you want too (but ane suggest 5 minutes is not bad anyway). Well here we have finished for all the configurations & it’s time to test whether DDclient is already running as we want. To get rid of it, you can use the command below.
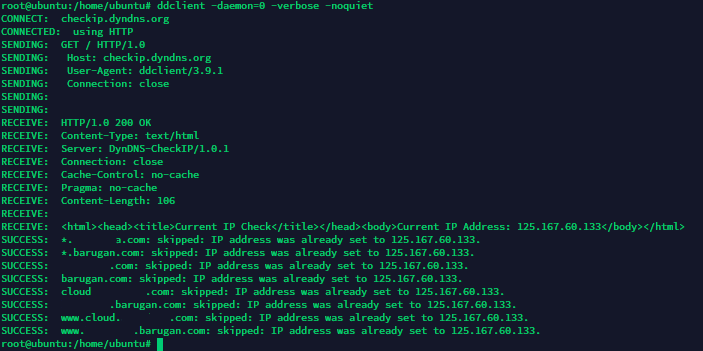
ddclient -daemon=0 -verbose -noquiet
If it is already run, it will appear whether the update is successful or not. If successful, there is usually a success letter as shown below.
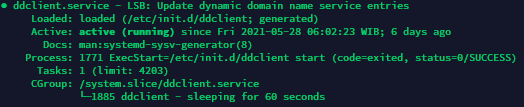
Now if you are successful, you can check whether the DDClient is already running in the background or not. To check the status, you can use this command.
service ddclient status
Well, later, if you run, an Active (Running) display will appear. But if it is not active, you can restart the DDClient with the ddclient restart command service . For an example if DDClient is already active, you can see the image below.
Ok, so that’s how to use free DDNS from Cloudflare and hopefully it will be useful for you 🙂