
Hallo Men, when searching for this article, it means that you are planning to use an SSD or NVME on your raspberry and you are now on the right path. Actually, maybe you know that we can use an SSD for OS with Berryboot as an OS selector when booting but for this article it’s different we will directly boot into SSD / NVME via USB without Berryboot intermediary or use a loader in micro SD so it’s more native (in my opinion anyway). So in this tutorial, you don’t need a Micro SD at all and what you need is an SSD / NVME (HDD will be ok too, but only powersupply attached) and don’t forget to use a USB adapter / converter to connect SSD/HDD/NVME to your Raspberry Pi 4 (recommended USB Version 3.0 or above).
Ok, let’s keep going, it’s actually really easy to do it. First of all, you will beed to download the disk flasher first, what i use here is balena etcher you can download it here and for the Ubuntu Server 20.04 direct boot ISO image in this link download it here (or this the forum link that provide it). after you open the link, download the flasher and iso ubuntu 20.04 , and when you are finished, just open the flasher. then there will be a display like below.
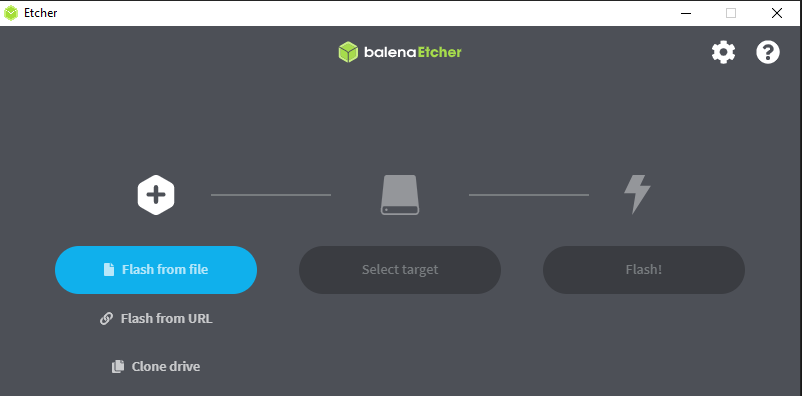
After that, select flash from file then select the Ubuntu Server 20.04 ISO that you downloaded earlier and then in the target select enter the SSD / NVME that you want to flash with the ISO image. After that, in the last step, you just click flash and wait for the loading to finish.
After the flashing process is complete, plug your SSD / NVME with the adapter in raspberry via USB 3.0 for maximum performance. Wait a few moments then booting will continue to the Ubuntu Server terminal (you can also access the terminal via SSH on port 22). Next to login in the terminal you can enter the username: ubuntu, password: ubuntu.
Congratulations on successfully installing Ubuntu Server 20.04 on Raspberry 4 😀