
Hello, welcome to part 2, make sure you have seen part 1 before going to this stage. At least you already have a domain that is already connected to your Cloudflare dashboard. Ok, right off the boat, for part 2 this time we will configure Cloudflare SSL, Optimization to security. Then you can open your domain that connected to the Cloudflare dashboard and on the menu click the “SSL / TLS” tab as below:
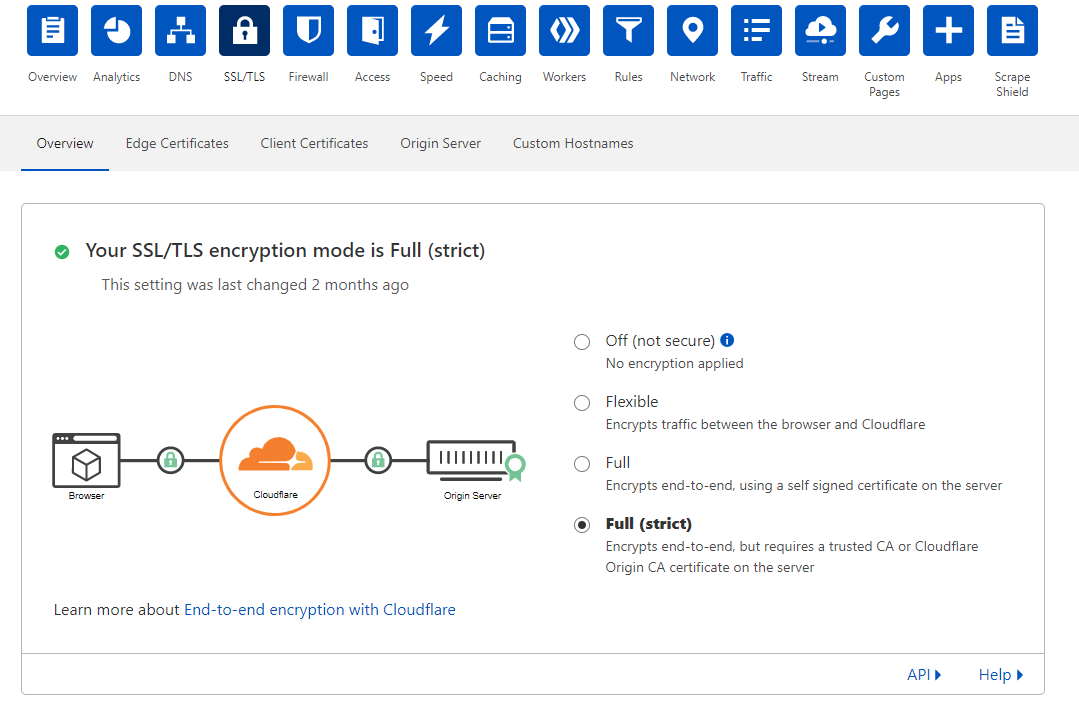
In the SSL / TLS settings select Full (strict). Here we will send and receive data from encrypted from Cloudflare for best security, avoiding sniffing and spoofing on our local network. And also Cloudflare will encrypt the data to the browser connected to Cloudflare so that the data is more secure. For this method we need an origin certificate from Cloudflare which we will later install on our webserver later, you can download it in the SSL / TLS tab > Origin Server as shown below:
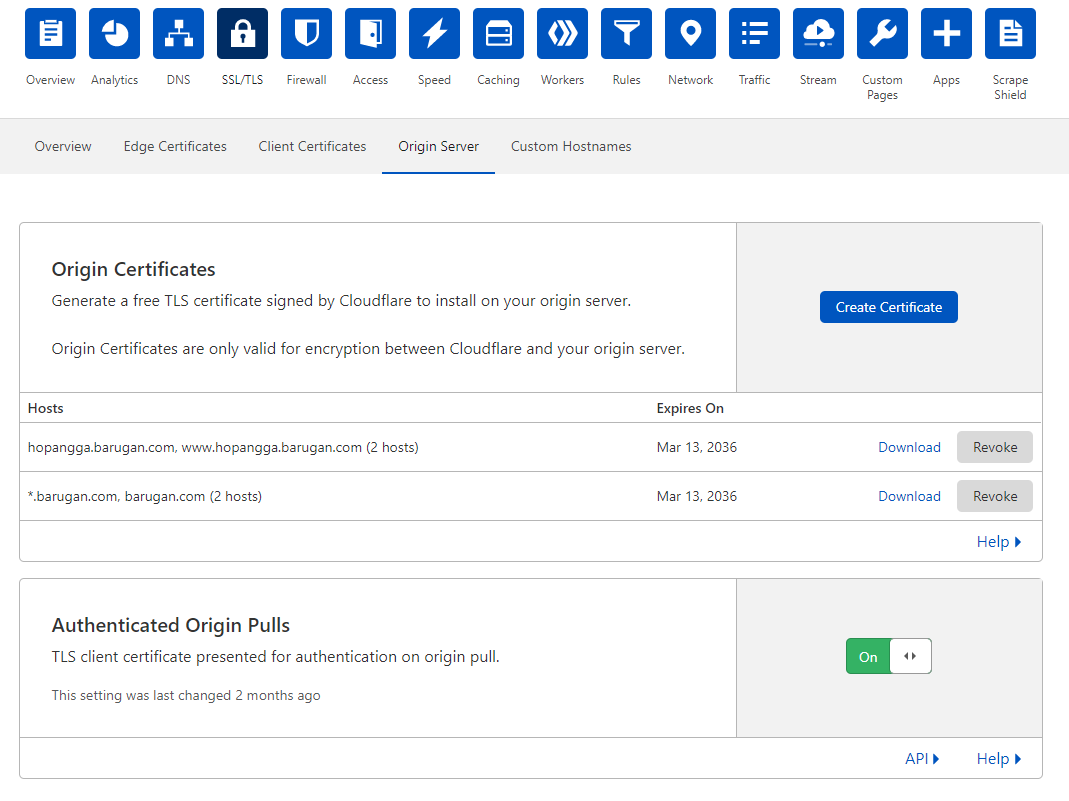
As shown above I have activated for my 2 domains. Before creating a certificate, don’t forget to turn on Authenticated Origin Pulls and after that you can click create certificate and a display will appear as below:
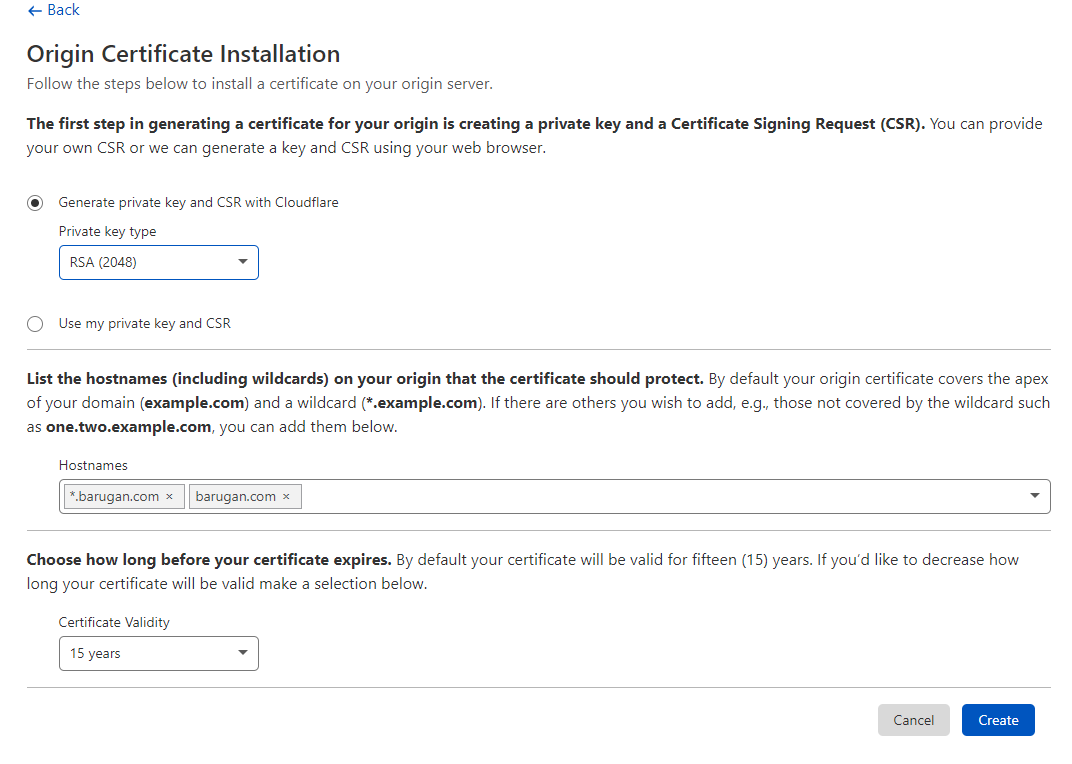
Furthermore, for the private key type, select RSA then in the Hostname list here will automatically apply SSL to your domain, for default he will apply to the main domain and first-level subdomains (sub.domain.com will use SSL but not sub.sub.domain.com). Furthermore, the certificate validity is up to you, I am going to use 15 years so that I don’t change the SSL certificatefor 15 years. When everything is done, you can click on Create then Cloudflare will generate 2 certificates which we will have to save later. For example, as shown below:

After you find the display above, don’t rush to the close because we have to save the two certificates. Make sure the Key Format is in PEM form for the certificate. Maybe you can first save all these certificates as backups later, then you can start turning on your Raspberry Pi 4 which has installed OS (for me, I use Ubuntu Server 20.04) and Login Super User then we can start implementing SSL to our webserver.
- For Origin Certificate you can save it in the directory /etc/ssl/certs/ , with the file name = domainname.com.pem
Easier: nano /etc/ssl/certs/domainname.com.pem
then paste the Origin Certificate - For the Private Key you can save it in the directory /etc/ssl/private/ , with the file name = domain name.com.pem
Easier: nano /etc/ssl/private/domainname.com.pem
then paste the Private Key - Then for the last step since we enabled Authenticated Origin Pulls, we have to download the Origin Pulls Certificate. You can search in this URL with the file name origin-pull-ca.pem and enter it in the directory /etc/ssl/certs/
It’s easier:
– cd /etc/ssl/certs/
– wget https://support.cloudflare.com/hc/en-us/article_attachments/201243967/origin-pull-ca.pem
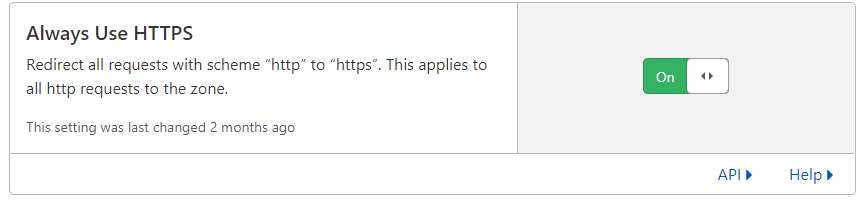
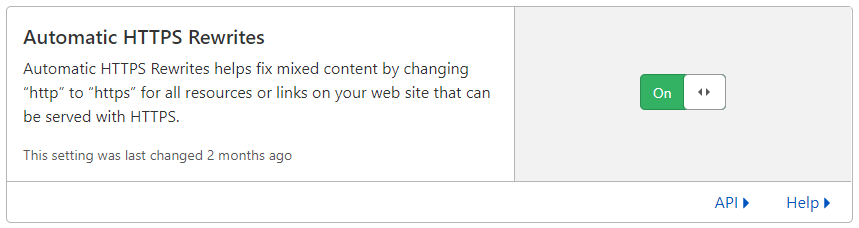
Next we will change all incoming requests using HTTPS, and for that we have to enable Always Use HTTPS & Automatic HTTPS Rewrites on THE SSL/TLS > Edge Certificate. You can see the example image below:
And finally finished for the Cloudflare integration problem & SSL Certificate men. Next, we just have to configure the Ubuntu Server to connect to cloudflare CDN. So here I end Part 2 here, and for part 3 later we will fully use our Raspberry Pi 4 so make sure you are ready. You can remotely use SSH or directly configure it later, and oh yes, make sure your router has you port forwarded to your rapberry pi and have opened ports 80 & 443. Ok, if you see you in part 3, friends 🙂