

Hello back again all, previously we have configured cloudflare & SSL integration. In this part 3 we will have a lot of configurations in ubuntu. Before starting to make sure you have checked the steps below.
- ISP router is already in port forward to your Server IP (Must open port 80 &443)
- You can use DDNS for those whose ISPs use Public Dynamic IP (for example, Indihome ISP). if not you can see my previous tutorial about it
- Make sure there is no firewall on your ubuntu that blocks ports 80 & 443
Ok I assume you have prepared everything and now you can turn on your Ubuntu Server and login Super User, just type sudo su in your terminal and login. After that we will start with the nginx webserver installation, for the installation you can use the command below.
apt update
apt install nginx
After the installation process is complete you can use the commands below to Stop, Start & Enable to make sure nginx is always running every time your server is turned on. For the Command, you can see below.
systemctl stop nginx.service
systemctl start nginx.service
systemctl enable nginx.service
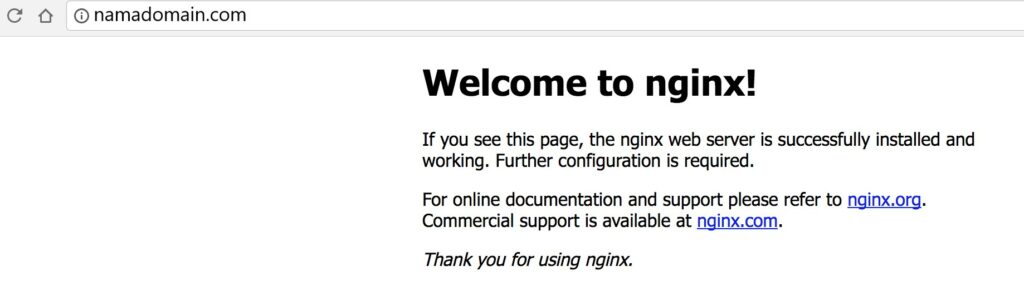
Now your nginx webserver is already installed. If you are connected to the internet and get a Public IP (and make sure ports 80 &443 are open) you can immediately open the domain that you have integrated in Cloudflare in the previous part using your browser, If successful then the browser will display a welcome to nginx page as below.
If using a domain name can’t connect but using a Public IP can connect means that your Public IP is not connected to your domain in Cloudflare, you can enter the Public IP that you got from your ISP (Make sure your ISP provides a Public IP instead of a Private IP) and then enter the Public IP into your domain’s DNS settings in your cloudflare account (You can also use Cloudflare DDNS if the Public IP you get from a Dynamic type ISP). If it is still not connected, you can also troubleshoot by paying attention to the point point below.
- Check the IP you got from your ISP instead of a Private IP
- Check whether the port forwarding on ports 80 & 443 is already open, then what is the IP of your Ubuntu Server is the same as the IP settings in Port Forwarding
- Check your Ubuntu Server firewall whether it is open port 80 & 443
- Check your domain nameservers if they are connected to Cloudflare
Ok from here I assume your domain is already connected. Next we will configure nginx then install the database (here I use MariaDB) & PHP. We start by installing Maria DB as a database server, to install MariaDB you can run the command below.
apt-get install mariadb-server mariadb-client
After the installation process is complete you can use the commands below to Stop, Start & Enable to ensure MariaDB is always running every time your server is turned on. For the Command, you can see below.
systemctl stop mysql.service
systemctl start mysql.service
systemctl enable mysql.service
The next step we will install MariaDB, to go to the secure installation stage you can enter the command below and later you enter your root password.
mysql_secure_installation
After the question prompt appears, you can enter the answer according to the guide below.
Enter current password for root (enter for none): (Just press enter)
Set root password? [Y/n]: Y
New password: (Enter password)
Re-enter new password: (Repeat enter password)
Remove anonymous users? [Y/n]: Y
Disallow root login remotely? [Y/n]: Y
Remove test database and access to it? [Y/n]: Y
Reload privilege tables now? [Y/n]: Y
Ok the database has been installed, next we install PHP. For installation, you can enter the command below (the command in this bwah will install the latest version of the stable version of the verbaru version in the ubuntu repository).
apt install php-fpm php-mysql
Next we will edit the PHP configuration file. In this configuration has optimal settings for the wordpress CMS. Because in this project at least the scenario is that the webserver can’t run a wordpress CMS (because wordpress CMS is the most widely used). Then because we install the latest version you must first check what version is on your server then you can edit the configuration file, for the command you can see below.
ls /etc/php/
(after that it will appear directory version, to have me version 7.4 . you can replace it with the version you have)
nano /etc/php/7.4/fpm/php.ini
(After that replace some lines according to the configuration below)
file_uploads = On
allow_url_fopen = On
short_open_tag = On
memory_limit = 256M
cgi.fix_pathinfo = 0
upload_max_filesize = 100M
max_execution_time = 360
Ok done, for every time you change php settings.ini don’t forget to restart your nginx webserver. You can restart nginx with the command below.
systemctl restart nginx.service
The next step we just fill in the content & create a serverblock on our webserver. You can fill in with website content that you already have before or you can create a website from 0, you can also install your favorite CMS such as wordpress. For wordpress users, if you want to move your website you can use the WP duplicator plugin (in my opinion the easiest migration). Maybe I will make a tutorial in the next article, but in my experience it is easiest and move the full site with all the linked databases (this website is moved using the WP Duplicator plugin). OK, if that’s the case, you can enter your website content in the directory below
mkdir /var/www/namadomain.com
(your domainname changes your domain, then paste the website content in the new directory)
(Then run the command below to give the web server permission)
chown -R www-data:www-data /var/www/html/namadomain.com/
chmod -R 755 /var/www/html/namadomain.com/
Next for the last step we will create a serverblock on nginx to make the website content in the directory can be opened according to the domain name. On the serverblock, make sure the certificate pem key that we have stored in part 2 before is in accordance with the domain name. Ok to create a serverblock configuration file in nginx, you can run the command below
nano /etc/nginx/sites-available/domainname.com
after that paste the configuration below and replace it with your domain name & also replace php fpm with the version you are using.
server {
listen 80;
listen [::]]:80;
listen 443 ssl http2;
listen [::]:443 ssl http2;

server_name namadomain.com www.namadomain.com;
root /var/www/domainname.com;
index index.php index.html index.htm;

ssl_certificate /etc/ssl/certs/domainname.com.pem;
ssl_certificate_key /etc/ssl/private/domainname.com.pem;
ssl_client_certificate /etc/ssl/certs/origin-pull-ca.pem;
ssl_verify_client on;

client_max_body_size 100M;

autoindex off;

location / {
    try_files $uri $uri/ /index.php?$args;
}
location~.php${
     include snippets/fastcgi-php.conf;
     fastcgi_pass unix:/var/run/php/php7.4-fpm.sock;
     fastcgi_param SCRIPT_FILENAME $document_root$fastcgi_script_name;
     include fastcgi_params;
}
}
After saving the configuration file above, to enable the above settings you can run the command below
ln -s /etc/nginx/sites-available/domainname.com /etc/nginx/sites-enabled/
systemctl restart nginx.service
And finally done, your domain and website content have been online on the internet. You can check directly in the browser by entering the domain name you set in this tutorial 🙂