
Hello all, in this article I will share my experience of configuring a webserver using raspberry pi 4 (a continuation of the past article). Ok for our webserver this time will use Cloudflare + Linux Ubuntu Server 20.04 (or above it may still be possible) with raspberry pi 4 which is connected to a direct boot USB SSD / NVME (if you miss it can see this article). Now the next equipment that you can prepare in this project includes:
- Raspberry Pi 4 with Ubuntu Server OS 20.04 (or another version if you decide to use other varian of linux) then you have to download and install it tutorial can be seen here
- ISP routers that are already in port Forwarding 80 & 443 (if you use indihome)
- SSD/NVME along with USB adapter connected to raspberry pi 4 in USB 3.0
- Domain Name (can .com .net .info etc. freely)
Ok, let’s get started, here is the webserver that we will set up using Cloudflare as a CDN. Because Cloudflare provides a CDN for free that can speed up the performance of our webserver. The first time if you don’t have a cloudflare account you can register here and if you have logged in, you have to add the domain you already have in Cloudflare and connect it as the example below.
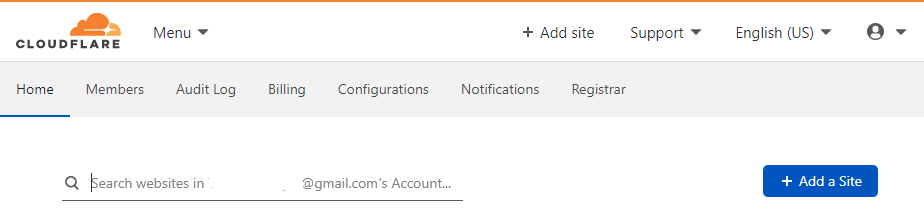
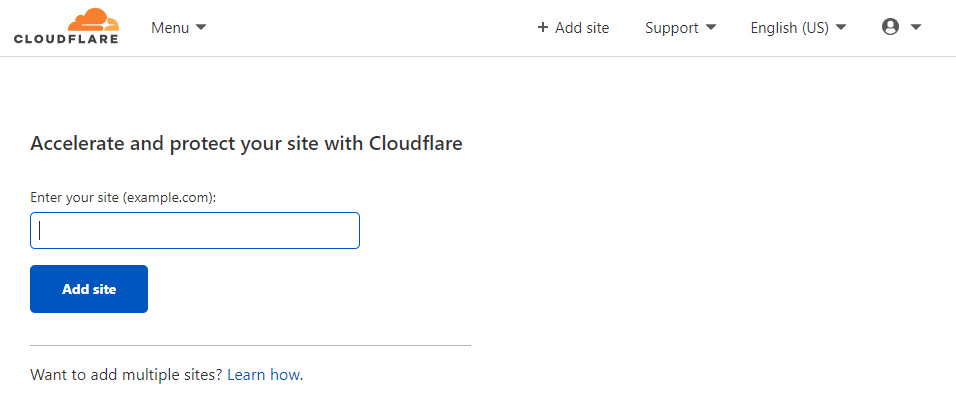
After clicking on the add site, a display will appear as below to enter your domain
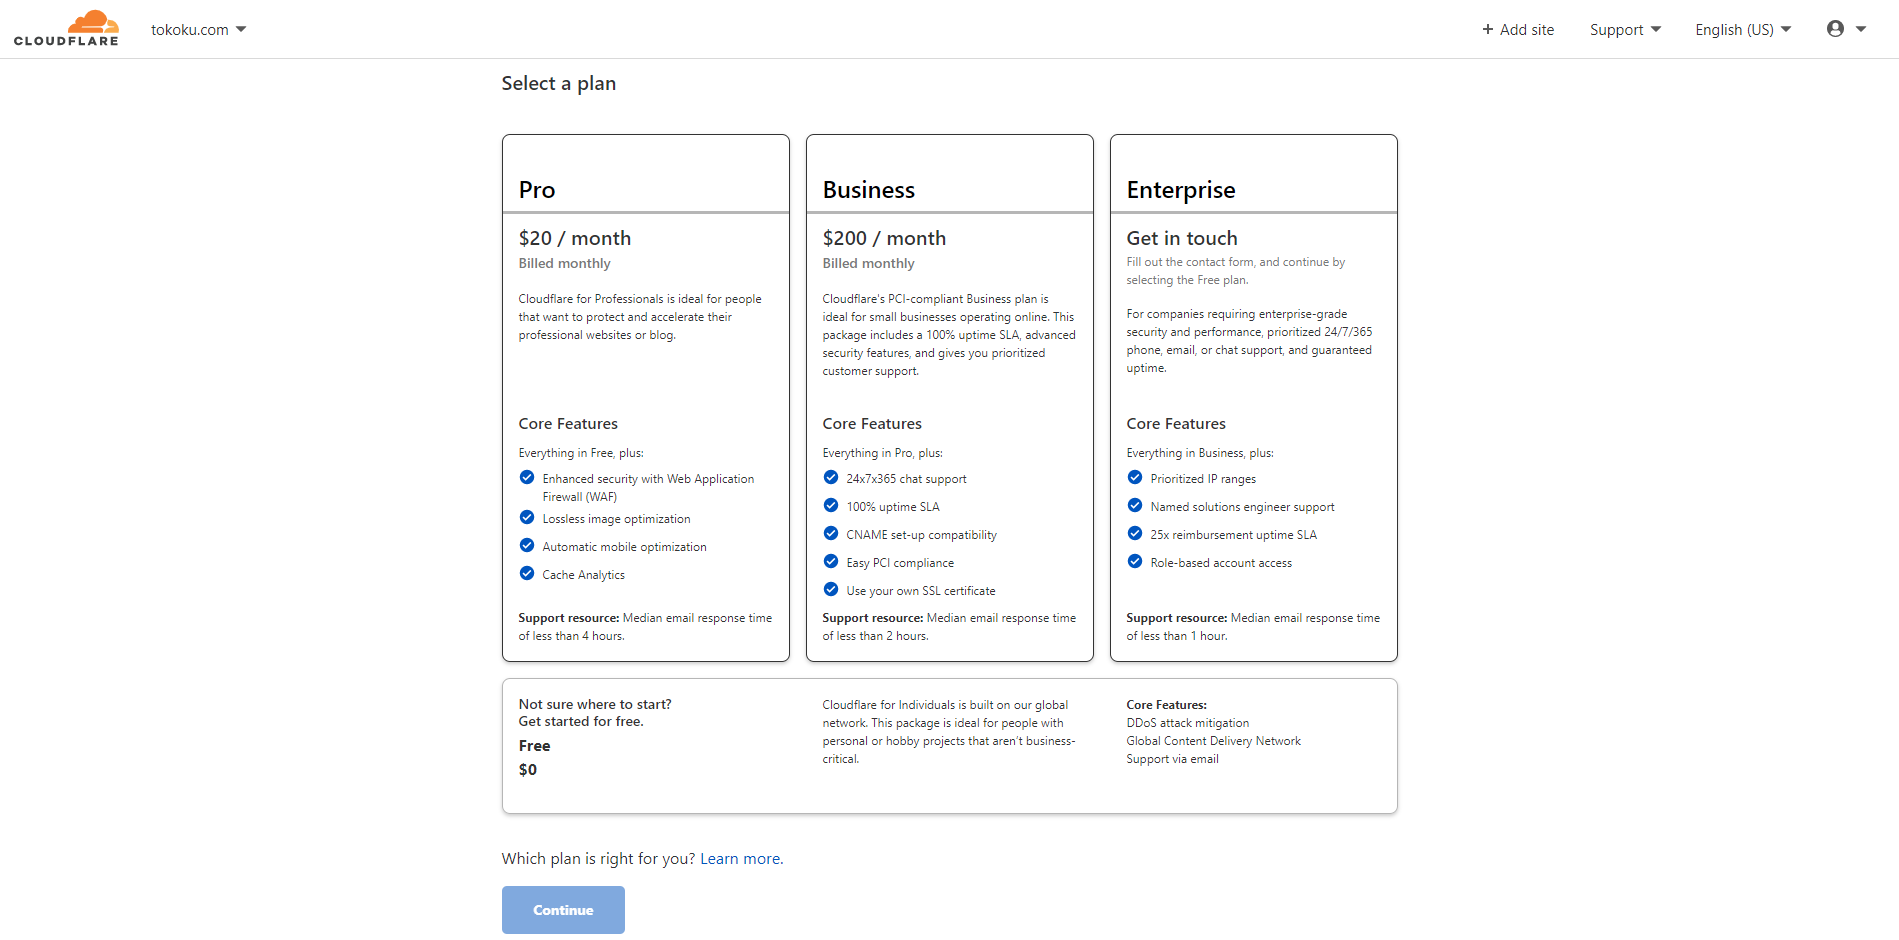
If you have finished entering the domain then you will be faced with a pricing table as below, for this project you choose a free plan as shown below then click continue after it is finished
next Cloudflare will import your DNS settings in the domain that is currently in use, so that when you change the nameserver to cloudflare your domain is still online and points to the same DNS. For this stage you can just let it go or edit it if you want to change the host, after that you click continue until you are on the page as shown below.
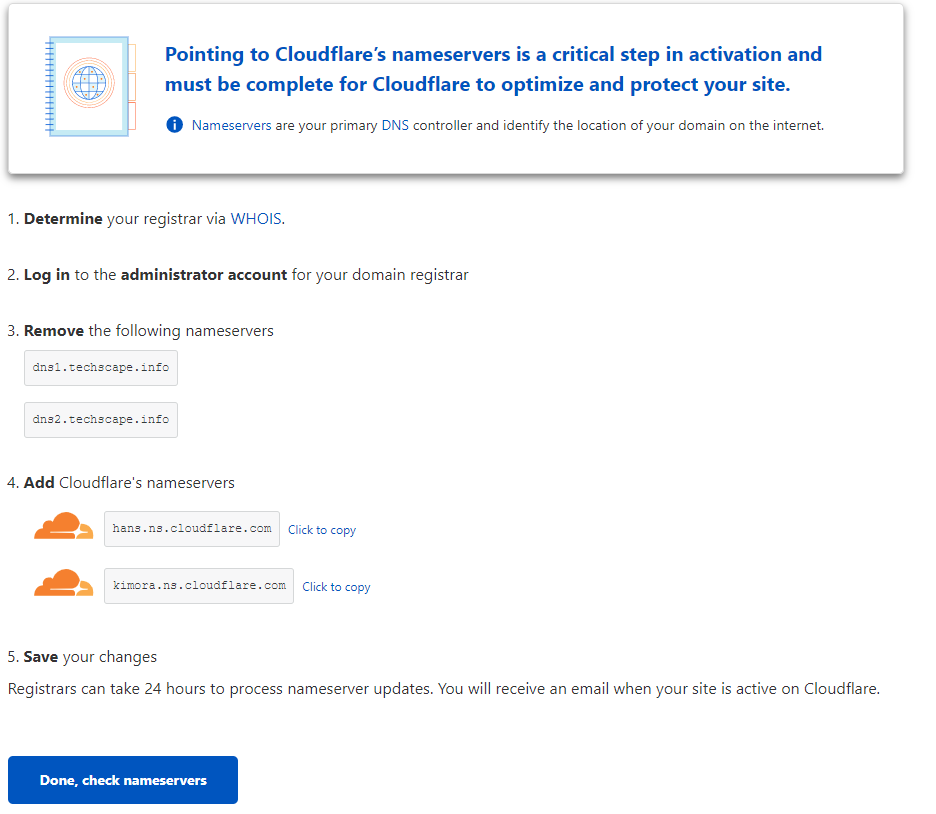
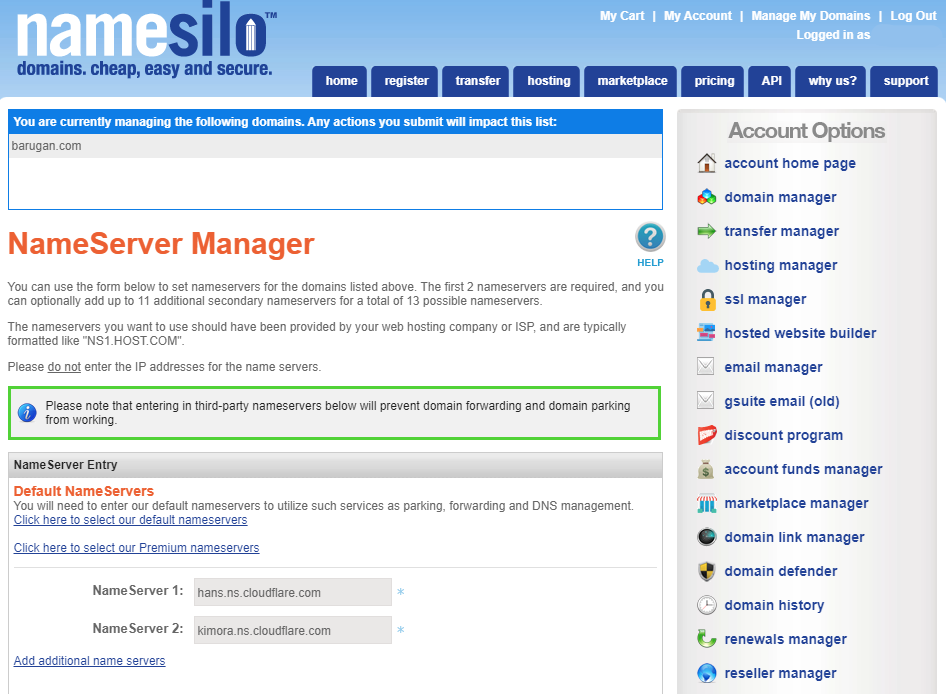
After that, at this stage you have to change your domain nameserver to a cloudflare nameserver to connect your domain to the Cloudflare CDN. In this step, it won’t make your website down anyway, because Cloudflare has imported your domain’s DNS settings before. To change the nameserver you can change on your domain manager, for example, I bought this domain at namesilo and then I have to change it through namesilo. You can see an example below.
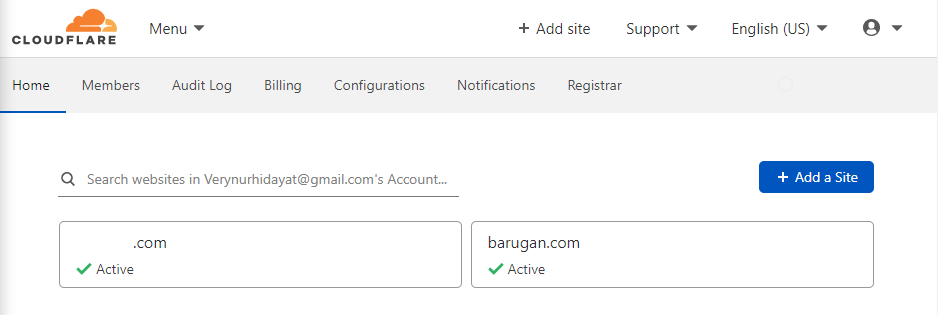
After you have finished changing the nameservers according to the page in Cloudflare then you can click “Done, check nameservers”. Nameserver switching usually takes 1×24 hours depending on the policy of the domain refgistrar you are registering for, but usually it takes more than a few minutes to hours. Ok, if it is complete and successful then your domain will appear on your Cloudflare dashboard with a green check mark as shown below.
Ok here we have finished connecting the domain to Cloudflare and we can continue in part 2 because it is quite long if it is made into 1 post. Part 2 will include configuring Cloudflare and activating the Cloudflare SSL feature for your domain. You can proceed to part 2 by clicking below.